The best way to Create a Basement Wood Shop

The basement looks just like a perfect place to get a woodshop. The the area is easily obtainable, the temperature is generally moderate as well as the area is is available from both outside and the house. Before you start shifting your resources, nevertheless, consider its own integration with all the remaining house and the problem of your basement. The basement has to be dry and clear. The area should have ventilation and adequate electrical retailers. The basement, typically a dark- location, should have task lights and vivid common for jobs that are wood-working. Once these fundamental requirements are satisfied, the basement workshop becomes a pleasurable area for the useful do-it-yourself-er.

Preparing the Basement

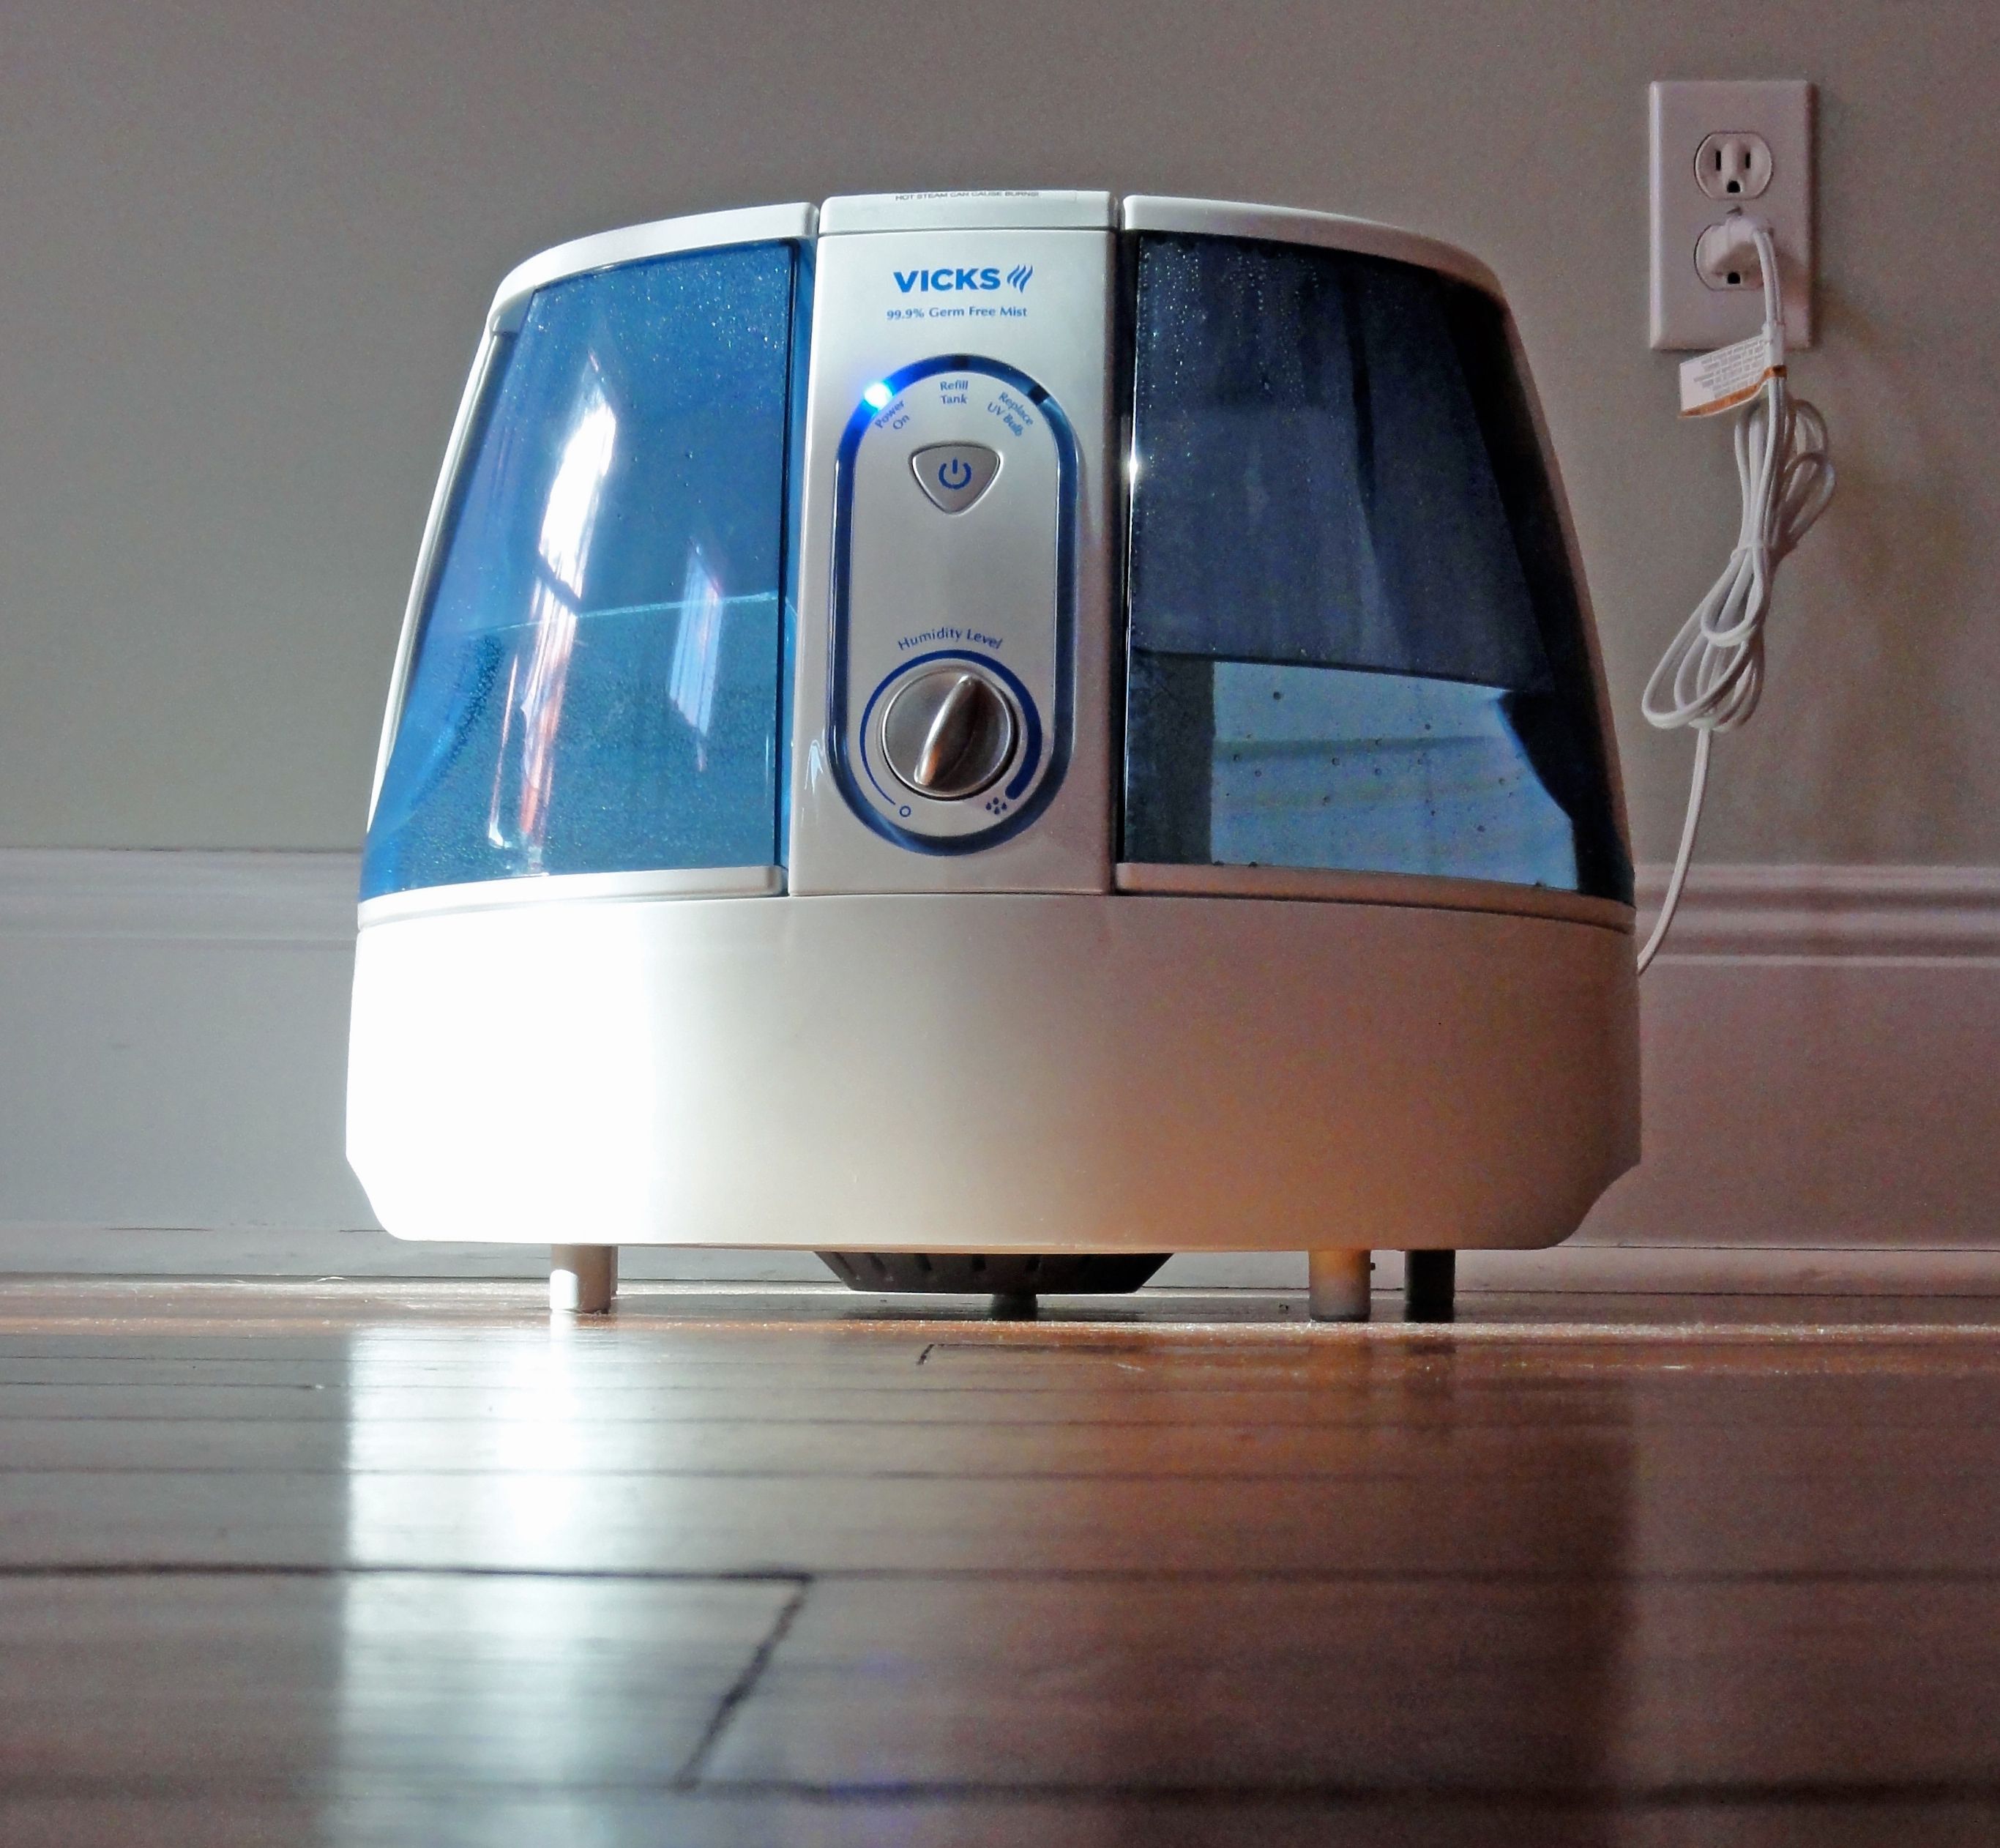
The basement meet building codes and has to be dry, available before you construct your woodshop. Waterproofing may be an arduous process in locations that experience flooding or are located in in a higher water table location. The basement air is generally moist in the earth and great temperatures even in case your basement is free of water. Use a dehumidifier or consult using a basement water-proofing business to find out the most useful methods of eliminating excess moisture in the space. An entrance is also needed by your basement. Some building codes require emergency exit, or an egress, to get a basement. An egress could be as advanced or as easy as a window that is big, available as a do-or with exterior door and extra hallway, stairs. A 4 foot broad do-or enables ample space for transporting sheets of hefty and wood resources. It’s important to consult your nearby creating codes department in case your basement satisfies the the rules to get a secure workshop, to decide.

Electric and Lights

Basements absence adequate electrical shops and are darkish. All electrical outlets have to be grounded and installed on 2-0-amp circuits, and a few building codes need Ground-Fault Circuit Interrupters (GFCIs) for all basement electrical outlets. Large, vitality-hungry strength resources for example a tablesaw, miter noticed or bandsaw should have their own circuits that are independent; this helps to ensure the tools prevents injury to the motors and usually have adequate strength. Overhead lights serve as basic lighting, but extra lights will be needed by the basement for process lighting. Lights or transportable clipon perform lights are ideal for moving through the entire basement for duties that are diverse. Install job lights over locations such as cupboards that are above or the workbench.

Tool Storage

Basements are made out of of field-stone partitions or concrete, cinderblock and consequently don’t quickly maintain screws and nails . Construct slender partitions of furring strips, foam insulation and wood-paneling on the concrete partitions, in case your basement is dry. These walls that are new will maintain peg boards, tiny screws and shelves for hanging resources that are light weight. For hefty things including cabinets, you may need to drill to the wall with masonry anchors. Another choice would be to hang plywood boards above.

Other Concerns

Buy a little digital water alarm in case your basement ground does become damp occasionally. Whether it detects growing water placed on the ground, the alarm will sound. Keep at heart that fumes and sawdust from solvents can enter ventilation shafts or the furnace ducting and trigger respiratory issues for inhabitants up-stairs. Seal shafts and all ducts, or vent odors and dirt outdoors with ventilation followers. In the event that you use solvents, extinguish the fuel pilot lights to gasoline furnace and the hotwater heater to avoid hearth. If re-igniting and extinguishing appliances isn’t feasible, consider constructing a split up area in the basement to to accommodate these appliances. Gas furnaces and fuel-fired appliances do need particular clearances for combustion and appropriate airflow, s O consult neighborhood creating codes and your consumer manuals to decide room-size and correct clearance.

See related

The best way to Weatherize a Dryer Vent

When winter and the seasons change makes its approach to your own community, it is possible to weatherize your house to lower-energy costs and produce a much more comfortable comfortable living area. As you concentrate on winterizing doorways and windows, do not neglect to weatherize your dryer vent, also. Since a dryer vent exits outdoors, it is vital to to ensure cold-air does not seep in to your laundry area. Weatherizing a dryer vent is an easy way to save lots of money in your utility bills.

Disconnect the cord of the dryer from your wall socket that is electric. Scoot the dryer from the wall to gain access to the dryer vent, generally situated about one third of the way up the wall. Loosen the screw that secures the dryer vent to the dryer duct using a Phillips-head screw-driver. Lift the dryer vent the wall off.

Go outdoors where the dryer vent exits, and discover your house. Unscrew the components that attaches the dryer vent to the the outside of your home; typically each corner is attached by one screw. Remove the dryer vent in the wall. Scrape away the caulk on the dryer vent as well as the wall. Clean the inside of the dryer vent using a moist cloth. Expect to find out lint and dust in the vent.

Apply a 1/4- to 1/3 inch bead of silicone caulk across the rim of the dryer vent. Make sure that the caulk does not contact the dryer vent tube that goes in to the wall. Reinsert the dryer vent in the hole and press the edges round to secure it. Allow the silicone to seal the gap between the dryer vent as well as the wall. Secure the dryer vent to the wall using the screws that are original.

Apply a 1/4- to 1/3 inch bead of silicone caulk round the perimeter of the dryer vent where it lies flush from the the outside wall. Wipe excess caulk unusual using a moist cloth.

Go back in the home and analyze the the inner duct hole. Stuff tiny bits in gaps involving the pipe as well as the hole. Do not place any insulation in the dryer vent or in the pipe it self. Reattach the dryer vent to the wall utilizing the unique components. Scoot again the dryer contrary to the wall and re-connect the cord .

See related

The best way to Install Trim Around a Deck

Deck trim needs to be simple, with frills that gather moisture, because decks require to drop water. Trim may be employed to complete the ends of balusters or the posts to produce a good, straight line where they terminate on stretcher or the footing of the deck. Another kind of trim may be added below the hand-rail. This piece of trim, a board, or also refereed to as a frieze provides some balance to hand-rails. In the event that you would like to decorate your deck to get a house sale that is feasible, or in the event that you are creating a deck, it is possible to add value.

Baluster

Where the ends of the posts are nailed to the only plate or sill sight down the deck horizontally on the outside the deck — this is the horizontal piece working the full size of the deck. Place the 5/8-by-4 by-96-inch cedar lumber horizontally on of them, spanning across every one, since the the ends of them.

Place a 48-inch level along with the cedar. Move the ends down or up before the board is level after which shoot one pin nail and in to the closest baluster that is vertical. Let wander and go to another end of the cedar. Place the level on. Level and shoot one pin through it, in to one of the posts close to the finish. Walk to the conclusion that is opposite. Level and shoot another nail.

Shoot two-pin nails in to each post throughout the cedar. If vertical 4-by-4 posts are at normal intervals involving the balusters, use a miter saw to reduce the cedar to to match between them. Nail the cedar on as before. When it is not enough Butt together the cedar.

Fascia

Sight up beneath the hand-rail on the not in the deck. You are going to observe that the stretcher where it’s nailed on is overhung by the handrail. You will also see the posts are nailed to the stretcher as they’re about the bottom plate. You will also begin to see the 4-by-4 posts a-T typical intervals.

Measure between the 4-by-4 posts. Using a miter observed, reduce a little bit of fascia board to that particular length. Hold it uptight against the balusters and underneath the hand rail, spanning them across.

Shoot two-pin nails throughout the fascia board and in to each baluster that is vertical. Measure, nail and cut fascia board to to suit between every one of the balusters. You don’t have to to le Vel it flush it tight against the bottom of the hand rail.

See related

Making a Fridge Outside Seem New

A fridge that is coated with grime and finger prints will make the rest of un-appealing and the kitchen seem dingy. Appropriate care of the outside of the the applying goes beyond wiping down the doors and handles, although an instant cleaning can create an impact in the way that it appears. Making the effort to correctly clean it, indoors as well as outside, will assist you in making a much better impression in the event that you are planning to sell or give your old fridge. Some surfaces may be damaged by cleaners, so make sure you make use of cleaning products which are suited to the finish in your appliance. Stick to your light dish detergent to play it safe if you’re uncertain regarding the the final.

Unplug the fridge and transfer it away from your wall, if feasible. Avoid dislodging the waterline to the icemaker.

Make use of a simple solution of water and dish soap to wash the face of the sides, the doorways as well as the very top of the the machine. Wipe and make a mild lather on the surfaces to help eliminate grime and dust. Make use of a cloth to rinse away the soap deposits and dry any wet to cut back spotting and streaking.

A specialty equipment polish, wipe, spray or wax to bring back the radiance and luster of the fridge. Most refrigerators have an all-natural glow that returns after cleaning spots and dirt off but you may require a polish that is chemical to aid the surface seem new. Some sprays equally clear and polish, getting rid of the dependence on water and soap to simply help loosen grime. Make sure you settle on a commodity designed for the end of your fridge.

The door seals utilizing heated water and dish soap. Wipe the con-Tact area on the fridge together with across the seal itself. After it is clear, shut the entranceway after which use your fingers to sense round the seal to find any cool-air flows in the interior of the the system. It may mean the seal is a deep failing, which decreases the cooling performance of your fridge in the event you’re feeling air escaping.

Dust or vacuum grime and pet hair a way from your rear of the fridge. As air is drawn in the kitchen surroundings, little particles and dust can collect across the coils at the back of of the the system. In the event you are giving or marketing the the machine, it’s both shrewd and courteous to clear this location of the the applying. Coils that are filthy maybe not only appear bad-but are able to offer decrease the performance of the fridge.

Plug back the fridge in and cautiously drive it straight back in to location.

See related

The best way to Remodel a Bedroom with the Indian Topic

India has a tradition that has a a large number of traditions that differ by area. Combining the décor from distinct areas offers exactly the same feeling as putting “wild-west” furnishings in a Cape Cod style house with ante-bellum columns out front. In the event that you would like to remodel an area with the Asian Indian subject that is genuine, then select an area, examine it from what it provides, and select.

Religious Sway

Indian tradition blends the religious with all the lay considerably more than Western tradition does. Design is influenced by the religious in the art work to the furniture to the carpeting. Understanding the need for spiritual topics that are specific can help you to understand why a specific objective appears the way it does. As an example, no Indian- area will be complete with no statue of Buddha.

Decorating Supplies

Brass wood and woven fabric are essential pieces in decor that is Indian. Greatly carved wood items, brass casts that are elaborate as well as fine metal filigree, and exceptionally complex paisley designs on wall-hangings, bedspreads and carpets should be a part of your bedroom. Silk should reign everywhere. Shades lean to earth-tones, combined with greens, reds and blues.

Cooling System

The tropical climate in India makes keeping difficult cools, as well as this notion should be reflected by your bedroom. The ceiling fan established on a fall post of at least a couple of inches and needs to be an easy fan with broad, extended rattan blades. Use beads rather than doorways to keep winds moving through. Hang beads on the rear of your door when the doorway is closed to evoke this vision.

Flooring and Furniture

Wood floorings are the common in India and in many cases are made from bamboo. Genuine bamboo can be obtained as flooring materials, as well as the price is similar to other varieties of wood flooring. Than Western fashions so bear this at heart when creating your bed, furniture has a tendency to be lower to the earth. Select dark, affluent-looking furniture that’s blocky as opposed to fine in style.

See related

To Decalcify a Humidifier

Adding moisture to the air using a humidifier can include specks you don’t want, including white debris and micro-organisms. The humidifier cans clog and develop a layer of dirt at home. Humidifiers are often mobile, but some houses have whole-house humidifiers as component of the air conditioner or heat. Humidifiers can vary greatly in dimensions, but eliminating or decalcification scale build-up processes are alike.

Gains

In a large-humidity environment including the Bay Region, you will need a humidifier for inside. A humidifier puts moisture to the atmosphere, helping those with skin or difficulties. When the heating dries the atmosphere out or when the humidity is reduced outdoor, a humidifier shields background from shedding and retains painted and wood surfaces from breaking. People that are sensitive to humidity changes and people with respiratory diseases are helped by a humidifier. The humidifier may also prevent drying and static electricity of your furniture.

Varieties

Impeller and ultrasonic will be the mobile humidifiers that are common. Whole-house humidifiers make use of spray mist, a drum or flow -through methods. The program that is drum operates using a cloth belt that soaks the water kept in a drum. Mist operates with the automated spray program in the ducts. The flow-through method has a trickle onto an aluminium or foam pad in the route of the blower. When the heat or air conditioning program activates the blower, the atmosphere is moisturized by the device. All humidifiers require decalcification and routine cleaning in the water-source.

Cleaning

Be certain the electricity is off to the humidifier before starting the cleaning procedure by unplugging the the machine in the energy supply and turning the knob to “ ” off. It’s a heater coil and in case your device has been working, enable the coil to cool before you begin cleaning. If it’s accessible the book of instructions can be convenient. Humidifier directions recommend cleaning that features drying and washing the water container to avoid microorganisms from developing in the the machine. Some humidifiers have water tanks which might be dishwasher secure, and microorganisms are eliminated by routine dishwasher cleaning. Dishwasher cleansing is not going to remove calcification. Calcification turns up in the tank, typically as a deposit in the humidifier and in the tube that attracts on the water. White vinegar is for decalcifying your humidifier, the suggested cleanser. The procedure is started by a cup of vinegar in the t-Ray or tank of soaking time and 20 minutes. A vegetable brush operates to get rid of the deposits that is chemical. Put a dishcloth on the afflicted region for those who have calcification over the region the vinegar reaches and swish the vinegar onto the fabric. That place should clear. Always rinse tank or the t-Ray with clear-water before use.

Maintenance

Two typical household goods keep a humidifier secure and clean for house use. White vinegar removes the bleach and the the dimensions build-up kills any micro-organisms which will grow in the water. It merely needs 1/2 teaspoon of bleach in 1/2 gallon of water and to disinfect minutes 20 the humidifier. Wiping all places it is possible to accomplish using a fabric dipped in the bleach-water and swishing the bleach-water about ensures that you’ve disinfected all regions. Before you fill for use you will must rinse with clear-water. The calcification procedure wills impede and need decalcifying of your humidifier.

See related

The best way to Redo Rotten Trim Around a Garage Door

Door trimming is infamous for water penetration. Unlike doorways and windows with eaves to safeguard them from a specific amount of water, garage-doors are completely subjected to the elements. With bits of vertically and trimming overhead, splits and cracks grow, enabling water supporting the wood. In case your trimming appears or the paint is flaking away, odds are the trimming has rotted from water penetration on the rear, sides or equally. Make it look its best by changing outdated garage-door trim in the event you are considering selling a house.

Add the end of a crowbar that is level below the trimming. Faucet using a hammer to push in the point as far as possible on the rear of it. Pry on the crow bar to raise the trimming and loosen it. Some garage -inch by 6-inch studs across the inside margin of the opening. Use the exact same process to pry them off the studs, when they are rotten.

Pull the crow bar out and transfer it 24-inches to right or the left. Add the point and duplicate prying to carry on loosening the trimming. Repeat round the outside of the garage-door, loosening the trim all.

Catch the trimming along with your fingers and work it back and forth, down and up till it comes off. If it breaks into bits, it is ok. Make use of a claw hammer and pliers to remove all nails staying in the garage stud framework.

Quantify up both sides of the garage-door externally to the very best of the door. Quantify just to the most notable of the do or on the interior in the event the trimming is on the interior of the door-opening. With a miter observed, cut on two-pieces of trim to that particular measure.

Set the trim set up and make use of a hammer to nail the trim on the framework, spacing the nails every 8-inches.

Measure on the other side of the very best of trimming on the exterior of the door from your exterior corners of both sections of perpendicular trimming which you simply nailed on. Cut a bit of trim to that particular measure. Nail the leading bit of trimming to the header body, spacing the every 8-inches. Measure in case the trim is about the interior of the do or and minimize a part of trimming nail it on to the header from below it and to fit between both vertical sections.

Run huge bead of caulking round the inside as well as outside margins of the trimming that is brand new. Fill all nail holes, cracks, joints and seams with caulking. Paint with outdoor level paint.

See related

The best way to Paint a Cinderblock Hearth

While cinderblock hearths are cost-effective and practical, you might find the present paint on an old hearth has started to display signs of use, or the cinder block doesn’t fit your house’s decor. It’s possible for you to paint both new and previously painted yourself to cinderblock hearths, however they need more planning than other surfaces at home to make sure the paint sticks to the top and that it could continue as long as you possibly can.

Put on protective clothing including gloves, goggles and also a dust mask.

Scrub away area carbon black, dirt, efflorescence and peeling paint by means of a wire brush. Make sure that the supply of moisture that caused the efflorescence was corrected in the event that you’ven’t done so previously.

Scrape out rubble and free mortar within cracks employing a putty knife.

Blend 1/2 cup tri-sodium phosphate powder into a pail of warm . that is water

The area then scrub using a wire brush, and of your cinderblock hearth with tri-sodium phosphate combination. This eliminates grease, grime and efflorescence. For spots that are important, combine enough to that is water make a thick and scrub. use it to the spot before Rinse with clear water.

Blend 3 parts water to 1 part bleach to clear mildew spots a way. Dip a cloth to the concoction after which wipe onto the blocks.

Enable the bleach mixture to sit down for about 20 minutes on the spots. Keep the blocks damp in this time around, in the event the area dries, implementing more of the bleach combination.

Rinse the masonry completely with clear water and let it dry. Sand down any tough places utilizing good-grit sandpaper.

Seal cracks and holes with acrylic caulk. Press on the caulking to the openings utilizing a putty knife and wipe it easy. Leave this to dry and use another application if needed.

A finish coat of latex block filler by means of a paint-roller. Any openings are sealed by block filler and prepares the area for paint and primer. The masonry absorbs the paint, requiring several layers to cover it correctly, when you don’t apply filler.

Brush on an excellent exterior latex primer that’s formulated for masonry surfaces and abandon it to dry for approximately eight hrs.

Brush or rollon a finish coat of quality acrylic-latex masonry paint, ensuring to coverall cracks and crevices in the masonry.

Allow the paint dry over-night, then put in another coating for greatest durability.

See related

Making a Beaded Chandelier Cover

A chandelier is a stylish accent that functions as a focus in a space that is living. In the event that you would like to decorate your chandelier, it is possible to make protection or a beaded protect that accentuates the light fixture. Typically, a chandelier protect does not protect the whole chandelier because each protection is created to to suit an lamp over. Designing beaded chandelier addresses may be a satisfying home improvement job for the property investment.

Purchase pre-created chandelier lampshades that were person from craft shop or the local house goods shop. Decide on complements the subject of your chandelier and a form that accentuates your decor in your home. Each protection was made to cover one lightbulb. Fluted protections possess an official nature and ball-shaped protections possess a modern sense that was casual.

Assess the circumference of the foundation of your lampshade and multiply that from how many protections you want. Purchase ribbon from the local craft shop in the quantity you quantified. It’ll reveal from the bottom, although the strip of ribbon will not display on the exterior of your chandelier protect. Select ribbon and bead colours that coordinate by means of cosmetic accessories and your chandelier.

Cut on the thread to wrap round the interior of the chandelier protect, allowing the beads to reveal beneath the underside rim of the protection. Utilizing a hot-glue gun, use little globules of glue across the inside margin of the lampshade and lightly press on the strip of ribbon contrary to the adhesive. Somewhat cross a constant seam to be provided by the end-of the thread on the kick off point. Cut a way excessive ribbon.

Repeat this procedure using the chandelier that is staying addresses, ensuring the beads hang across the margin of every protection. Allow 1-5 minutes for the adhesive to dry fully before attaching the lampshade to the chandelier bulb. Pre-produced chandelier handles have grasps and hardware that wraps around the lightbulb, keeping the protect set up.

See related

The best way to Get Rid Of & Keep it Complete

Tiling connected, was created to stay in place, therefore without harming them, eliminating tiles is hard. The mix of powerful adhesive, bonding the tiles to the substrate, and cement-like grout produces watertight layer which is not meant to be eliminated and a firmly locked. The way to without harming them, to effectively eliminate tiles needs patience, attention and practice to to master.

Examine the outside of the space, edging strips which can be taken out to provide use of the tiles or looking for open tile borders. Don security gloves and goggles. Ease a flat-bladed screwdriver or similar instrument below the strips and gradually pry them free in the tiles. Pry them from the tiles rather than toward them to reduce the chance of damaging next tiles.

Don a dust mask as well as safety glasses and gloves. Rub on a rake over the grout between the tiles to use it a way. Continue till all of the grout between the tiles continues to be removed. Don’t be enticed to scrape or shove too difficult. If force can be used tiles are readily damaged or broken. Use water sometimes to get rid of powdered grout also to decrease the build-up of heat due to friction and grout was made to resist abrasion, so go.

Examine the corners of the region that is tiled and look for the tile that is least protected looking. Put a broad- comparable instrument or blade chisel from the underside of the adhesive under a a large part tile. Support the the chisel at 45 degrees to the substrate together with the blade as significantly below the tile area as you possibly can, and pat on the chisel lightly using mallet or a hammer.

Look and listen for signals of the tile beginning to raise free or getting pressured. Take away and duplicate the procedure in the other side that is open. Alternative sides encouraging the chisel to slip underneath the tile as an alternative to pushing the right path under it with strikes that are powerful. Prepare yourself to catch the tile when it breaks free.

Remove by operating along the border of the region, eliminating the tiles that are most open one in a time.

See related